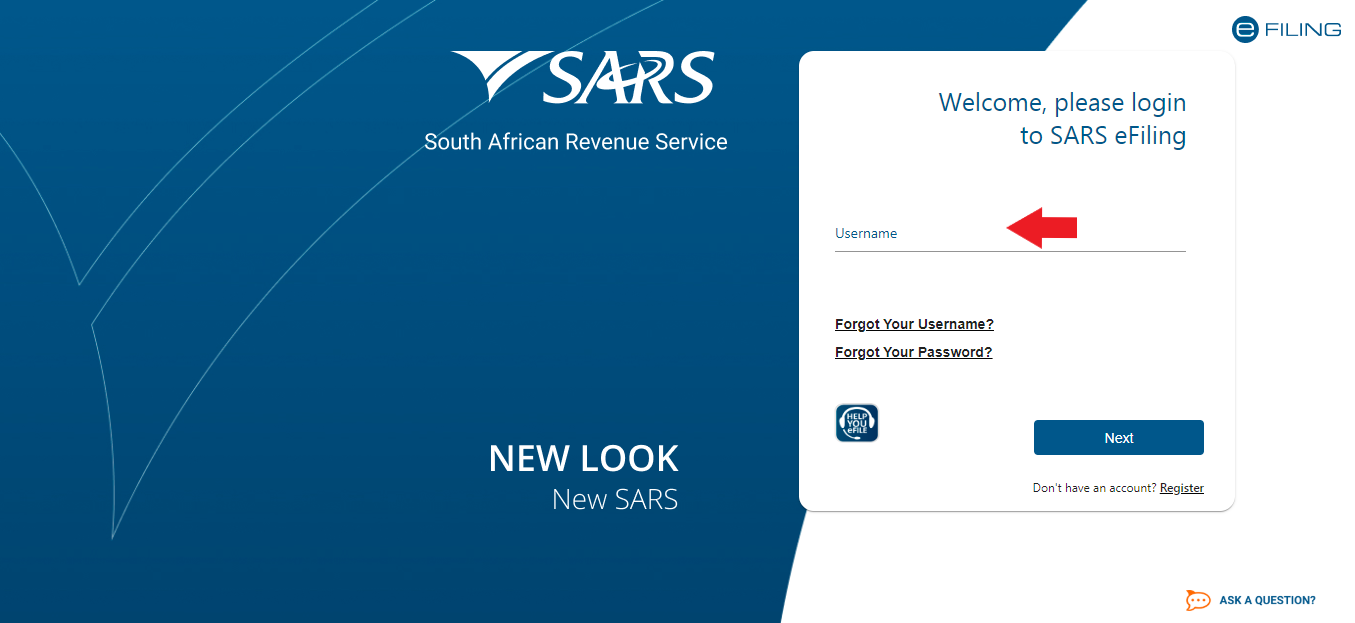
SARS eFiling simplifies tax compliance for individuals and businesses in South Africa by offering an efficient online platform. If you’re new to SARS eFiling and need to register, this guide will walk you through the process step by step.
Step 1: Visit the SARS eFiling Website
Begin by accessing the official SARS eFiling website. You can do this by typing www.sarsefiling.co.za into your web browser’s address bar and hitting Enter.
Step 2: Click on “Register”
Once on the SARS eFiling homepage, look for the “Register” button or link. It is usually prominently displayed to guide new users through the registration process.
Step 3: Choose Your Registration Type
SARS eFiling offers different registration options depending on whether you are an individual taxpayer, a representative taxpayer (e.g., tax practitioner), or a business entity. Select the registration type that applies to you by clicking on the relevant option.
Step 4: Complete the Registration Form
Fill out the registration form with accurate information. You will typically be required to provide the following details:
- Personal Information: Name, surname, date of birth, ID number or passport number.
- Contact Information: Email address, mobile number, and physical address.
- Tax Information: Tax reference number (if applicable).
Step 5: Verify Your Identity
During the registration process, SARS may verify your identity for security purposes. This verification might include sending a One Time PIN (OTP) to your registered mobile number or email address. Enter the OTP as prompted to proceed with your registration.
Step 6: Create Your Login Credentials
After successful verification, you will need to create your login credentials. This includes choosing a username and password. Ensure your password is strong and meets the security requirements specified by SARS (e.g., a combination of letters, numbers, and special characters).
Step 7: Accept Terms and Conditions
Carefully read through the terms and conditions of using SARS eFiling. Once you agree, tick the box indicating your acceptance.
Step 8: Submit Your Registration
Double-check all the information you have provided for accuracy. Once satisfied, submit your registration form. You will receive a confirmation message or email acknowledging your successful registration.
Step 9: Activate Your Account
Upon receiving confirmation of your registration, log in to your email account associated with SARS eFiling. Look for an activation link or confirmation email from SARS. Follow the instructions provided to activate your account.
Step 10: Log In and Start Using SARS eFiling
Once your account is activated, return to the SARS eFiling website. Enter your username and password to log in to your newly registered account. You can now start using SARS eFiling to manage your tax affairs conveniently online.
Tips for Registration:
- Keep Documentation Handy: Have your identification documents and tax reference number ready to expedite the registration process.
- Verify Information: Double-check all details entered before submitting to avoid errors that could delay your registration.
- Secure Your Login Details: Safeguard your username and password. Avoid sharing them with others to protect the security of your account.
By following these steps, you can successfully register for SARS eFiling and enjoy the benefits of managing your taxes online efficiently. Should you encounter any issues during registration, SARS provides customer support to assist you further. Stay compliant and empowered with SARS eFiling for seamless tax management.
